Managing your finances and account settings is crucial in digital advertising. With the Meta Ads mobile app, you can add payment methods and adjust account settings with just a few taps. This guide will walk you through the process, ensuring that your campaigns run smoothly without any billing hiccups.
Step-by-Step Card Addition:
Open your Meta Ads app and log in. Tap the ad account icon to reveal the main menu and select 'Billing & Payment'.
.png)
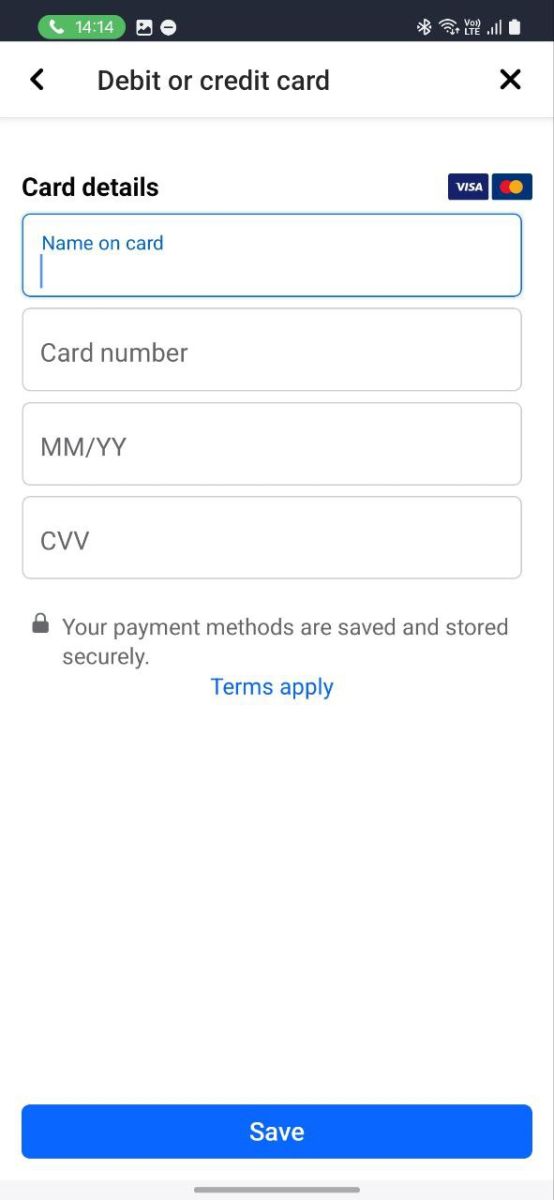
Click on 'Add Payment Method', choose 'Credit or Debit Card', and carefully enter your card details
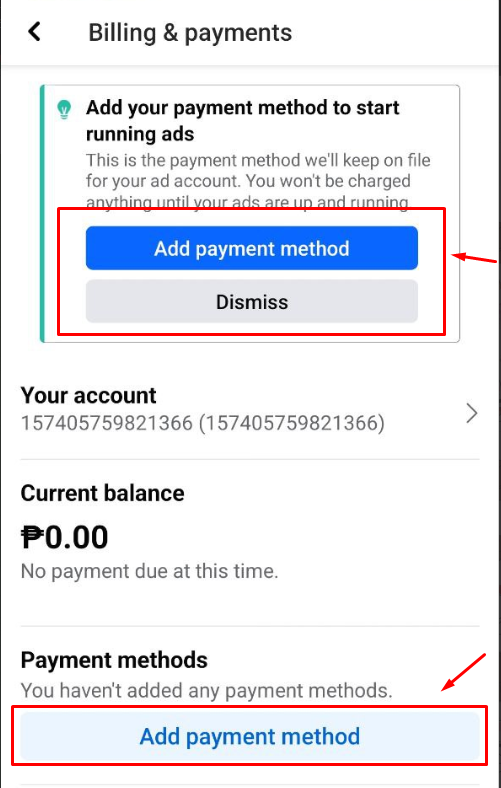
Double-check your information for accuracy, then hit 'Save' to securely add your card to the account.
Active Card Assurance:
Confirm that your card is active and the billing information matches your card details to prevent disruptions.
Navigating to Settings:
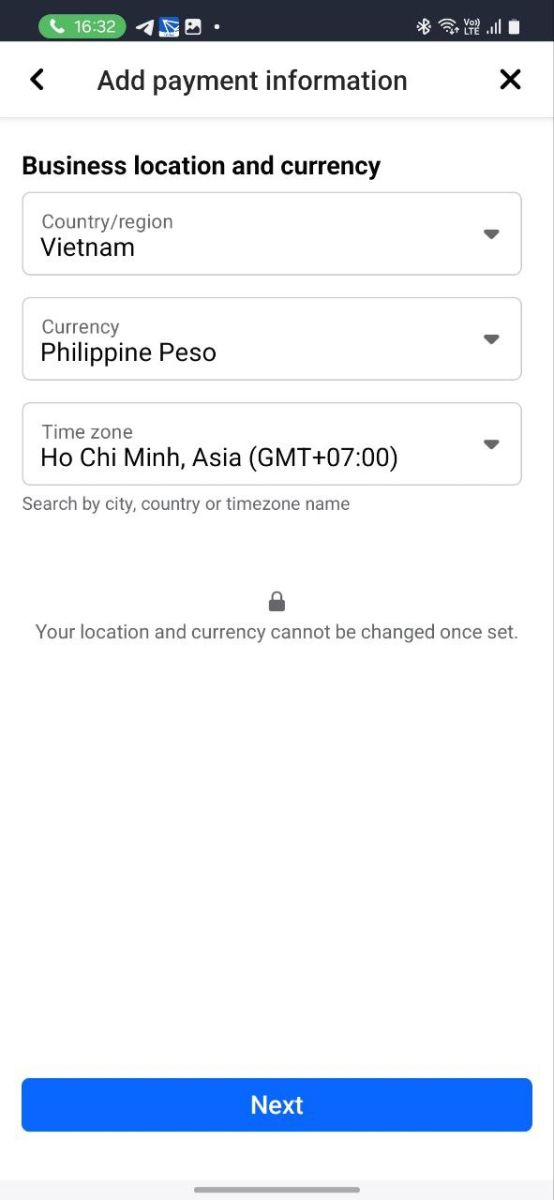
In the app, go to 'Settings' and find 'Business Info'.
Making the Change:
Select 'Time Zone' or 'Currency' to update your preferences, but remember, these changes are usually a one-time deal.
Altering Country Settings:
Within 'Account Settings', tap 'Country' and choose the new location to align your ads with the intended audience.
Be aware that changes to your time zone and currency can affect your billing and ad performance reporting.
Restrictions on changing country settings help maintain compliance with local laws.
If you encounter issues with your payment method, ensure all card details are current, the card is not expired, and check with your bank regarding transactions with Facebook.
If changes are not permitted, reach out to Facebook support for help and review your account's policy restrictions.
Conclusion:
Staying on top of your payment and account settings is essential for effective ad management. The Meta ads mobile app provides a convenient way to manage these aspects of your account on the go, giving you more time to focus on creating impactful ads. By following these steps of Accnice, you'll ensure your account is set up for success.

