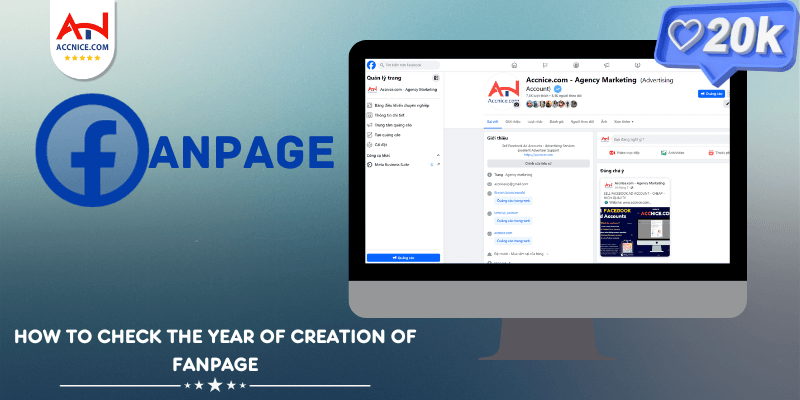
For those who need guidance on how to check the Facebook FanPage creation date when making purchases on Accnice, follow these detailed instructions:
Firstly, select and buy the FanPages you need at Accnice.
.png)
After purchasing the FanPage, if you are unsure how to access it, follow these steps:
1. Send Your Purchase ID
Send us the ID number you received when you purchased the page
2. Send Your Facebook Link or UID
Share your Facebook link (or UID) with us, and we will share the page to your Facebook account. This allows us to find your profile link and invite you to be an administrator of the FanPage.
Step 3: Accept the Admin Invitation
Once we send you an invitation to be an admin, we will notify you. You can check the invitation in your Facebook notifications or find the FanPage by visiting: facebook.com/FanpageID (for example: facebook.com/110442164842813).
3.1. Accept the Invitation

.png)
After accepting the invitation to join the FanPage, you can check the creation date by visiting the introduction section of the FanPage.
.png)
If you have followed all the instructions and still do not understand, please contact us on Telegram: https://t.me/sp_accnice https://t.me/sp_accnice . We will edit the article to make it easier for you to understand.